
Built to Perform.
Designed to Last.
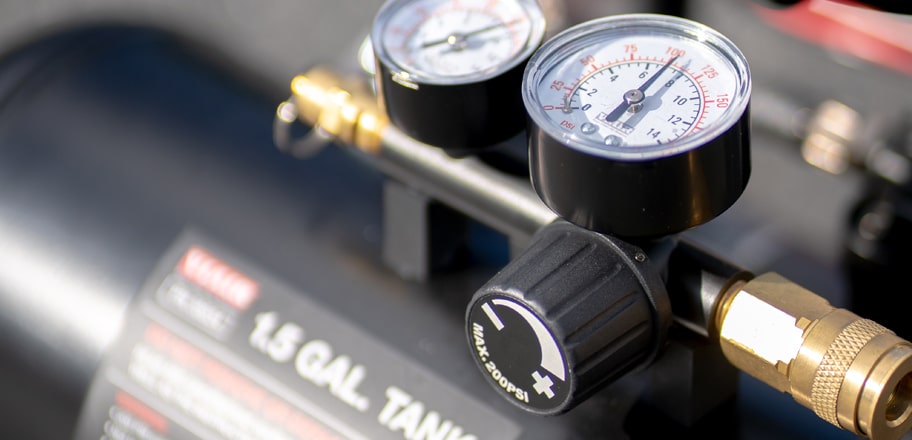
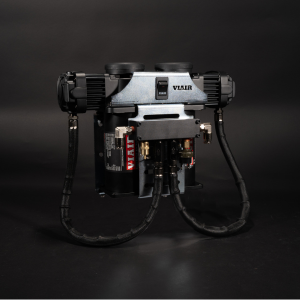
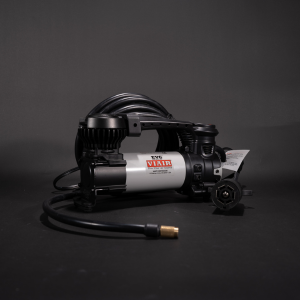
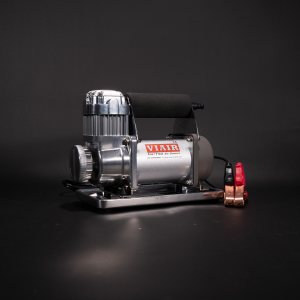
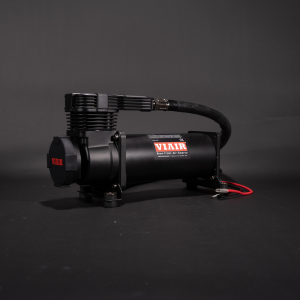
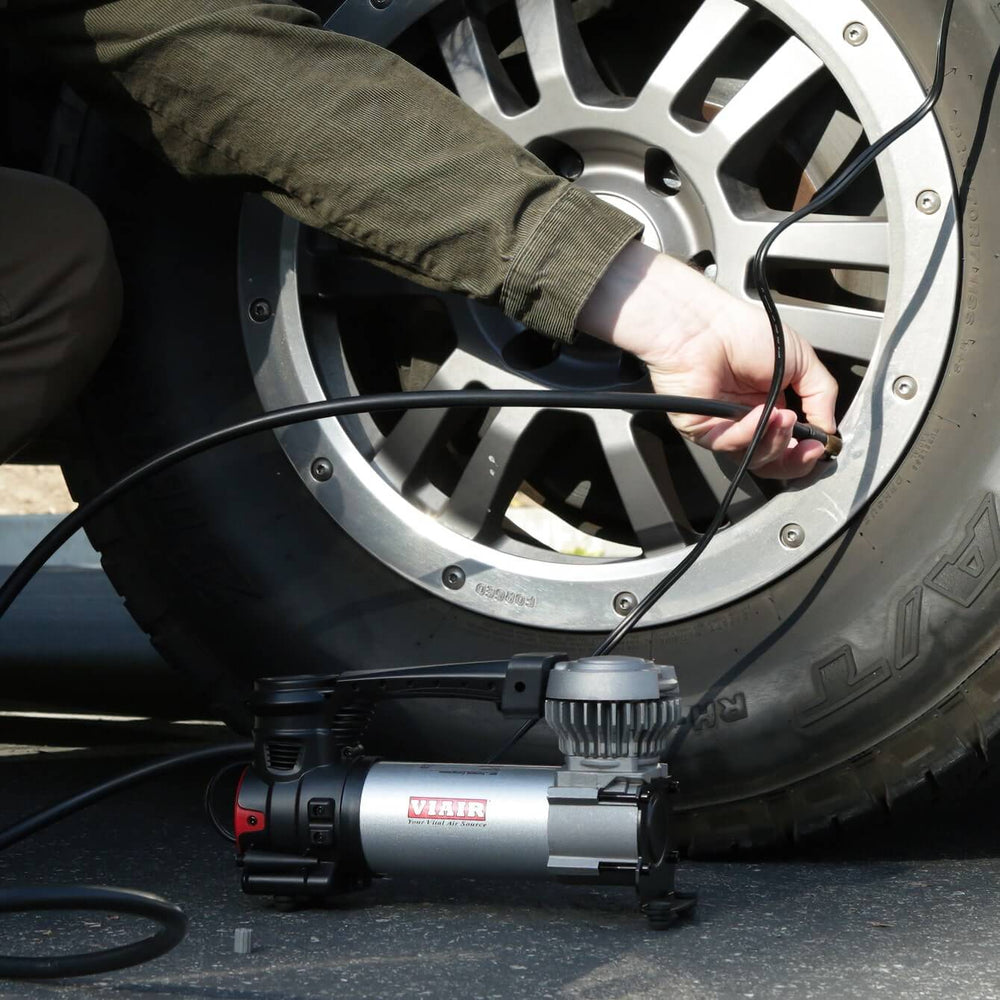
You can always count on VIAIR to deliver as promised—we never embellish. Engineered for reliability and convenience, our premium air compressors are fully tested to never disappoint.
Shop Now
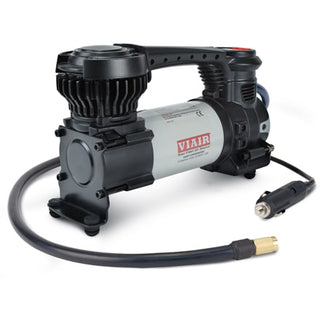
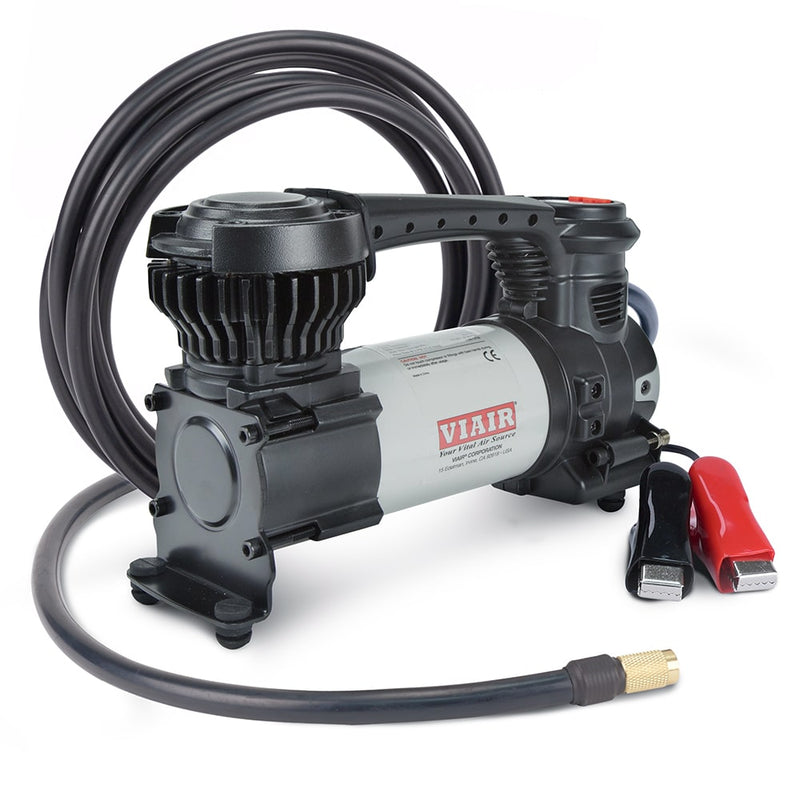
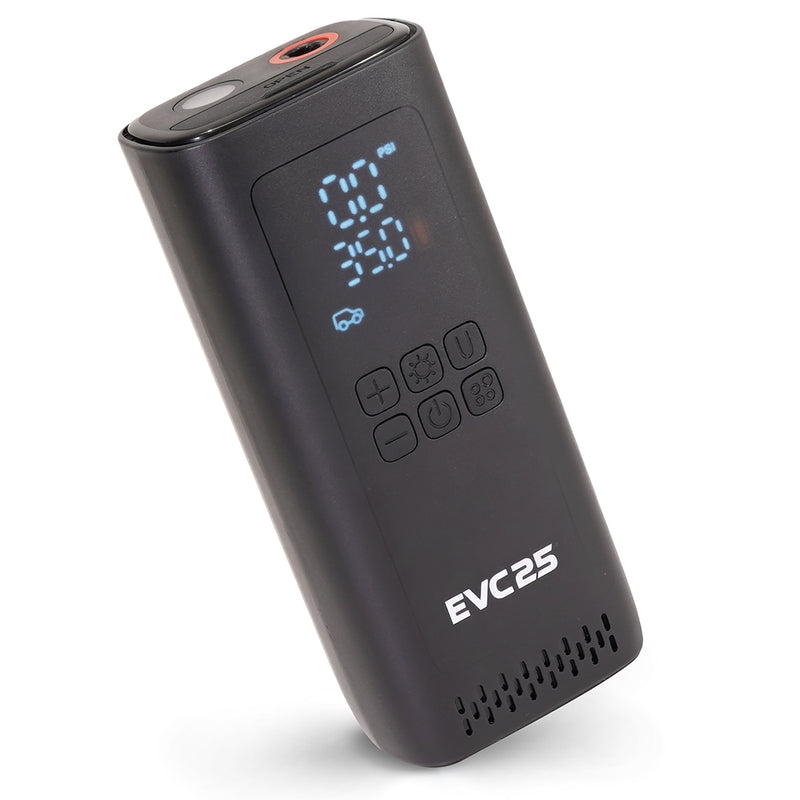
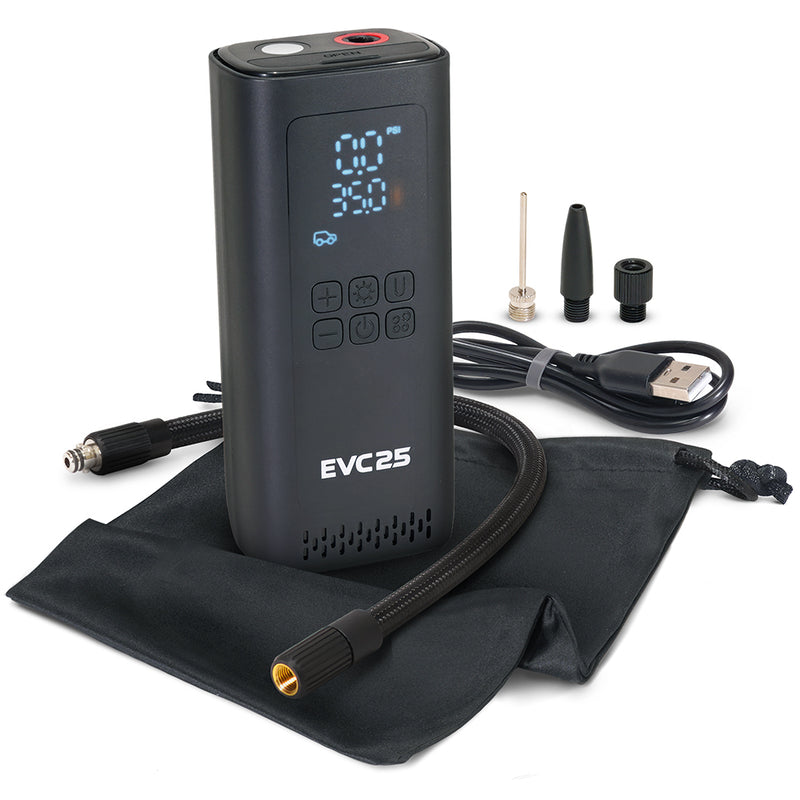
BEST SELLERS
Our best-selling portable compressors.

Find Your Match
Finding the right compressor can be a daunting task. This quick product quiz will help guide you to the right products - Let’s go!
Start Quiz
Shop By Use
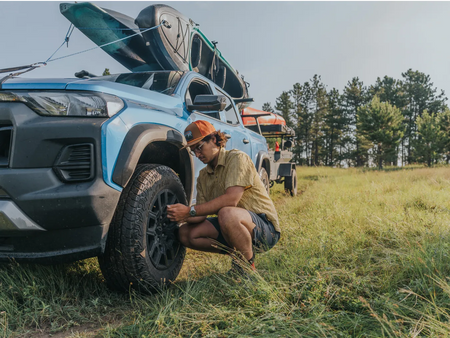
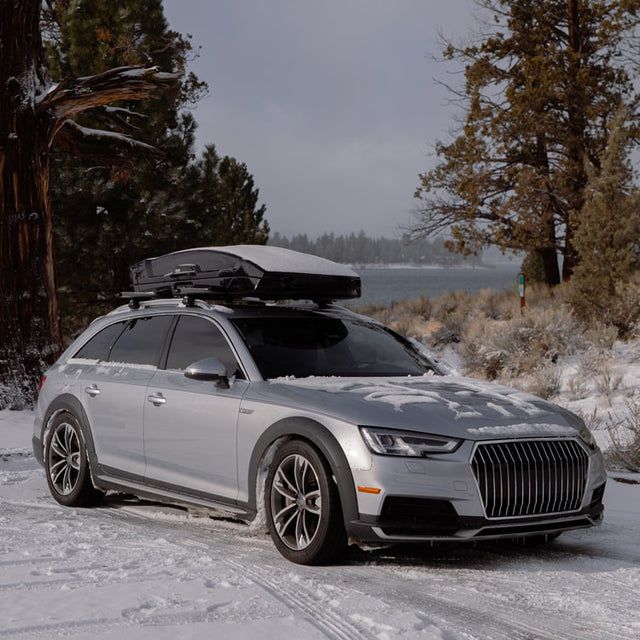
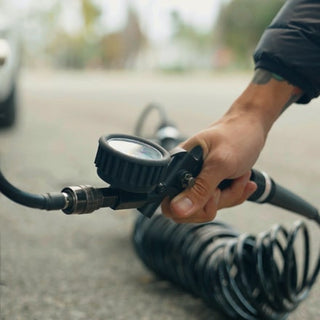
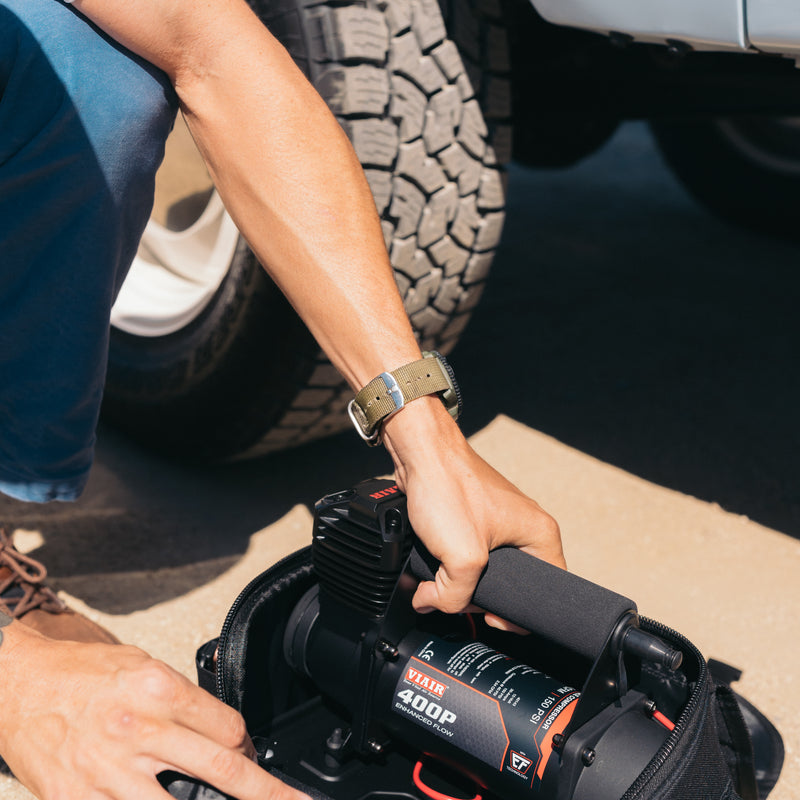
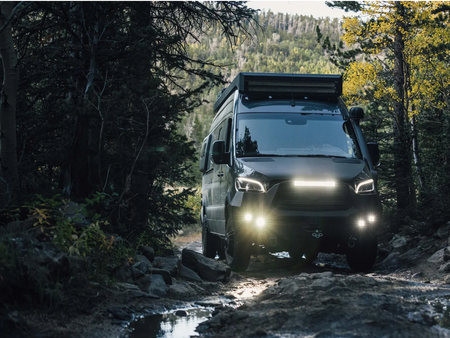
Off-Road / Overland
Fast tire fills help you get back to it, quickly.
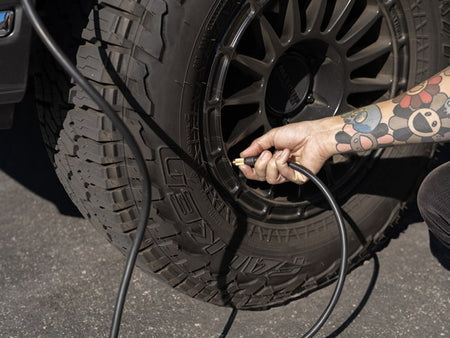
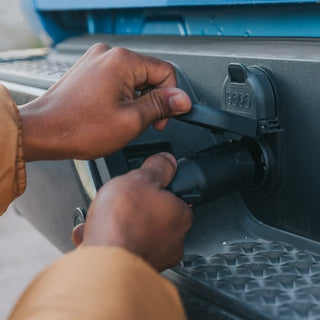
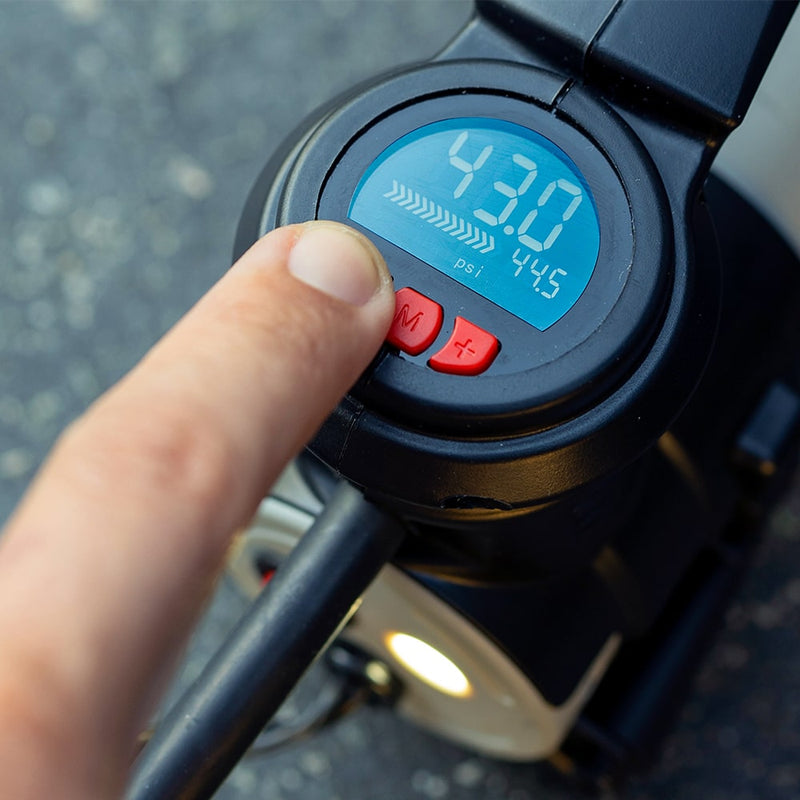
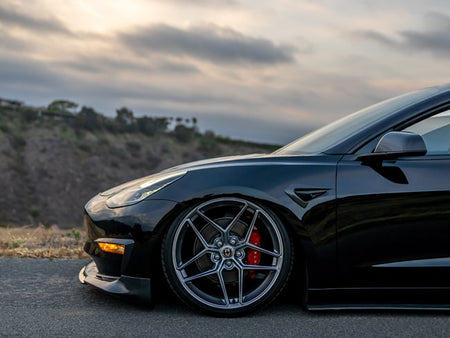
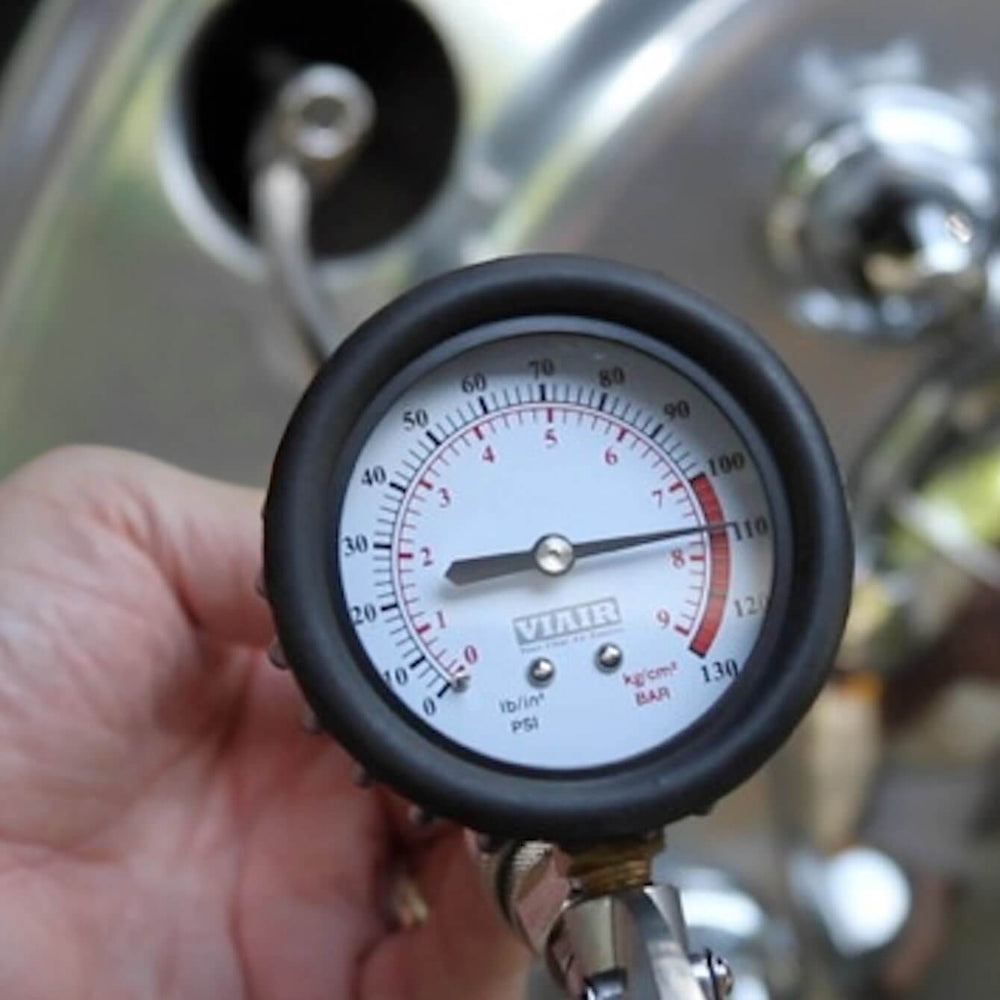
Tire Inflators / Daily Driver
Portable & easy-to-use, proper tire inflation is a breeze.
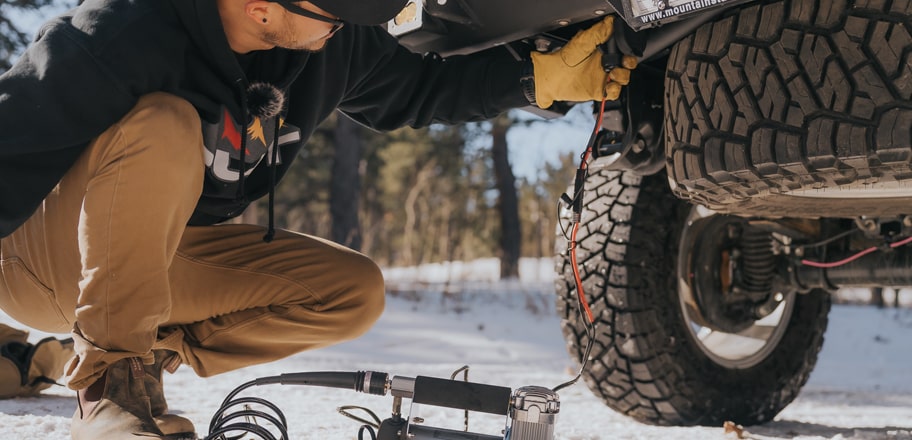
Air Suspension
The heart of any air suspension system.
RV / Trailer
Dependability and convenience for the self-reliant adventurer.

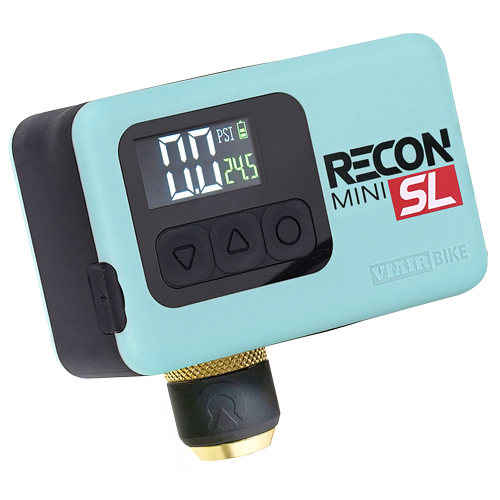
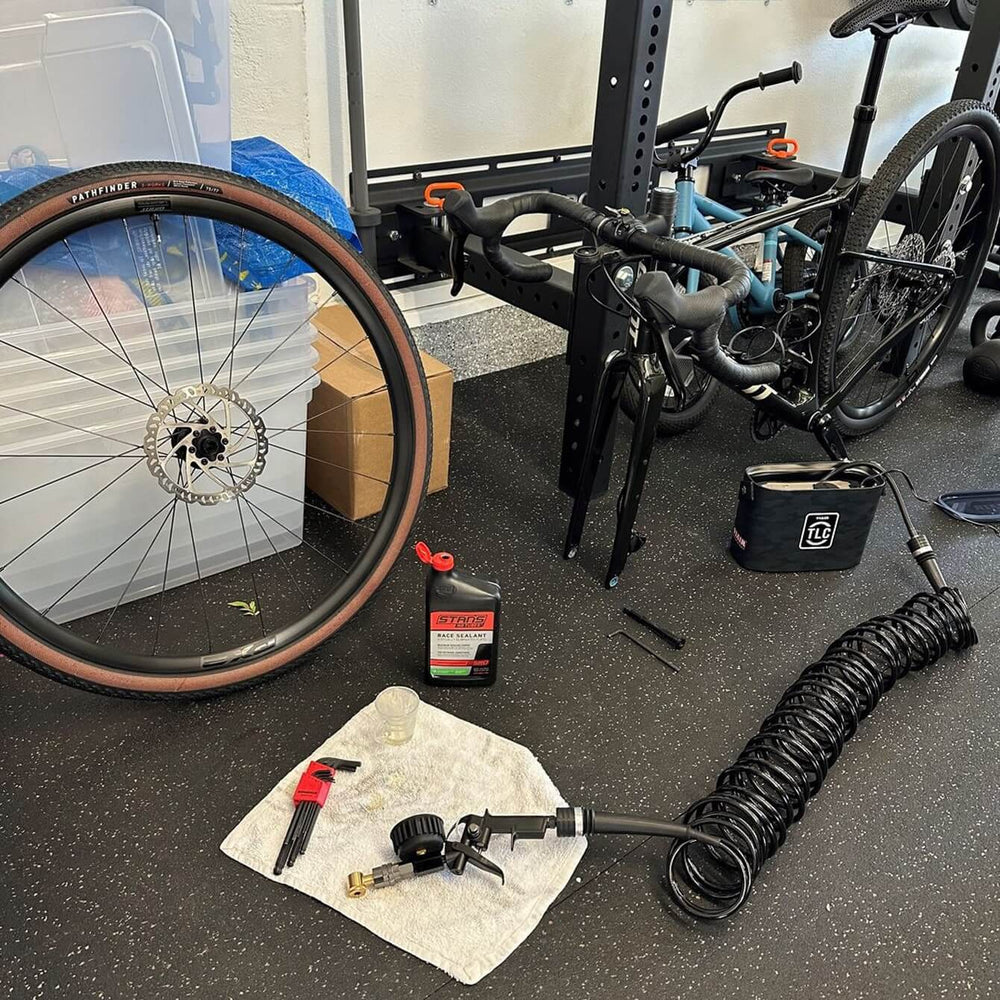
Bike
Tubeless capable compressors for bike & vehicle tire maintenance.
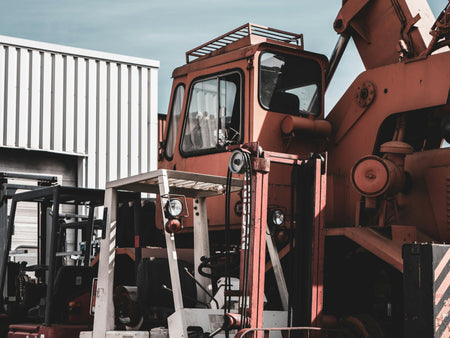
Industrial
Built, proven, and tested to meet industrial specs.
Shop Now
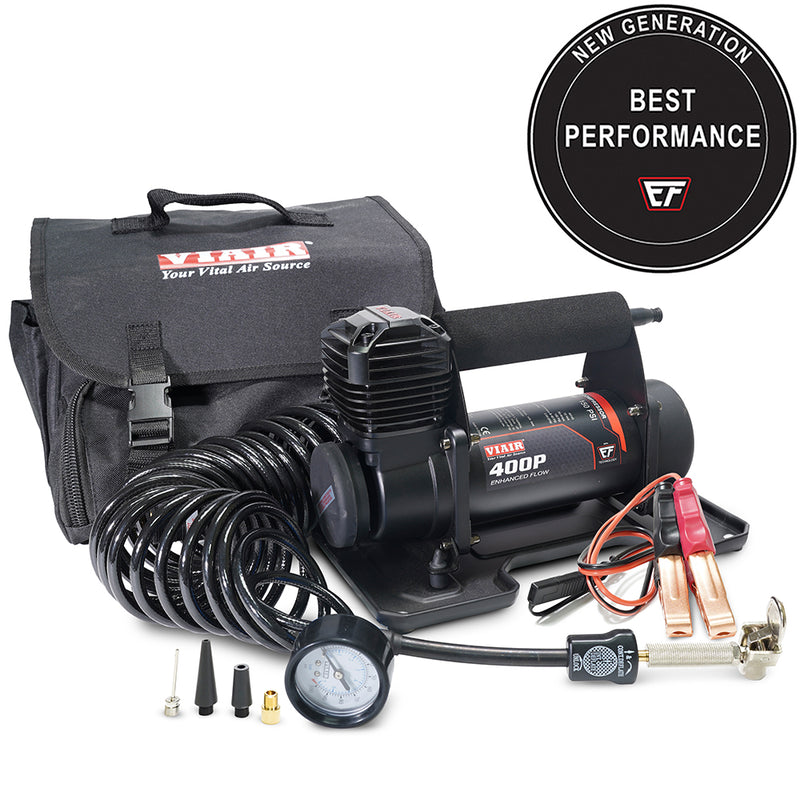
Our Collections
Explore the product family that fits your needs.